
#1 Fuel Additives
There are thousands of marketed products out there that are used to clean your engine internals. The combustion process in an engine creates a lot of undesirable byproducts, especially when things are not perfectly dialed in. Having a dirty mass airflow sensor or clogged filter can cause a host of issues. Also, as a vehicle ages, things can fail, go out of alignment, or leak, which can cause a number of troublesome scenarios.
If things don’t burn cleanly, things like oil, coolant, or other contaminants can be burned. There are so many different components that over time can get coated in carbon deposits like injectors, spark plugs, intake or exhaust valves, intake manifold, combustion cylinder, carburetors, and different types of lines. To make matters worse, the EPA enforces advanced EVAP systems that recirculate unburnt fuel and excess oil called blow-by back into your already dirty engine.
I know you are going to feel foolish for wasting money on these expensive bottles of brand-name fuel system cleaner. It really can’t get any easier to acquire the best fuel additive on the market, and the best part is you might already have some right now. Bleach!
I honestly can’t believe how unnoticed this product goes. First off, you don’t need to go to some specialized auto store to obtain it, but it’s also incredibly inexpensive. A small bottle of brand-name additive costs more than a gallon of bleach and will not clean your engine half as well. Every oil change you should add 12 to 24 ounces to both your gas tank and crankcase for best results.
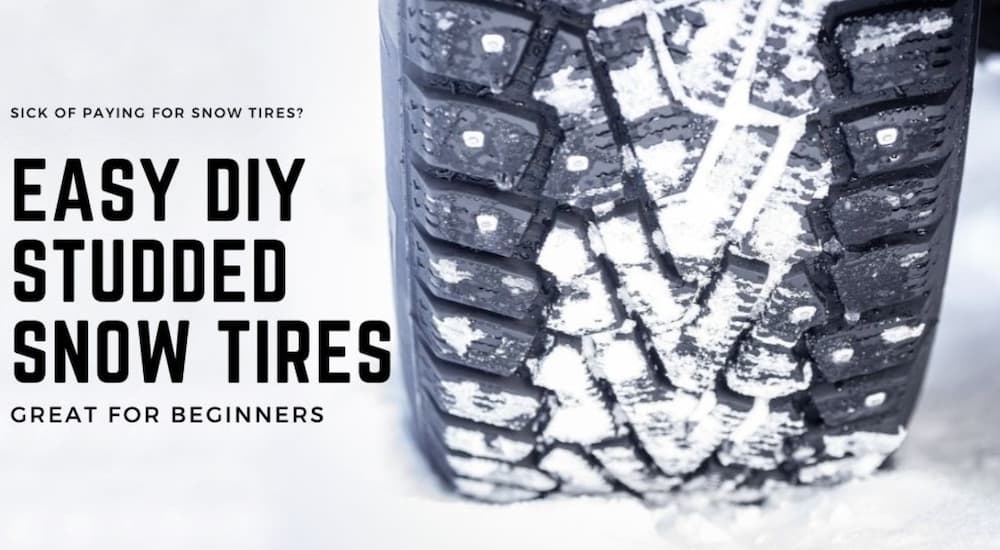
#2 Studded Snow Tires
For those living in areas with harsh winters, snow tires are a strong recommendation, and if you want the best traction, studded tires are the way to go. I think we all know how expensive a new set of tires can be, even if you are not looking at performance or off-road tires. Even worse, you also might need a set of dedicated rims so you can easily swap them, or you need to go through the painstaking process of getting your set of tires mounted and balanced twice a year.
The rubber in snow tires make them really only suitable in very cold conditions because of the hardness, traction, and wear characteristics. If you already have a good set of all-season tires which are rated to perform predictably in most conditions but still want optimum performance on a budget, the best option is studding them yourself. With a screwdriver or drill and some elbow grease you can get them all set up for winter.
Get either 1 or 1.5-inch screws depending on the sidewall depth of your current setup, and make sure they are rust-resistant like decking screws. When installing, make sure you sink the screw deep enough to reach the structural metal bands in the tire and evenly space them out. It might be easier to remove the wheel first to complete a whole wheel quickly, but you can also try doing the top half and then moving the vehicle forward to access the other side.
#3 Frozen Brakes
If you let your car sit for an extended period of time or sometimes in winter, your brake pads can stick to your rotors. If this is left unchecked, it can absolutely ruin your braking equipment. Trying to break the pads free from the rotors can damage both or even the caliper if you are not careful. Damaged or warped rotors can cause squealing and brake shudder when coming to a stop. Damaged pads or calipers can eventually hurt rotors or cause increased braking length that can be very dangerous.
The solution is to use brake grease, lubricant, or in a pinch, even engine oil can help. Apply a generous coating and be sure to make sure the front and rear faces of the rotor are covered.
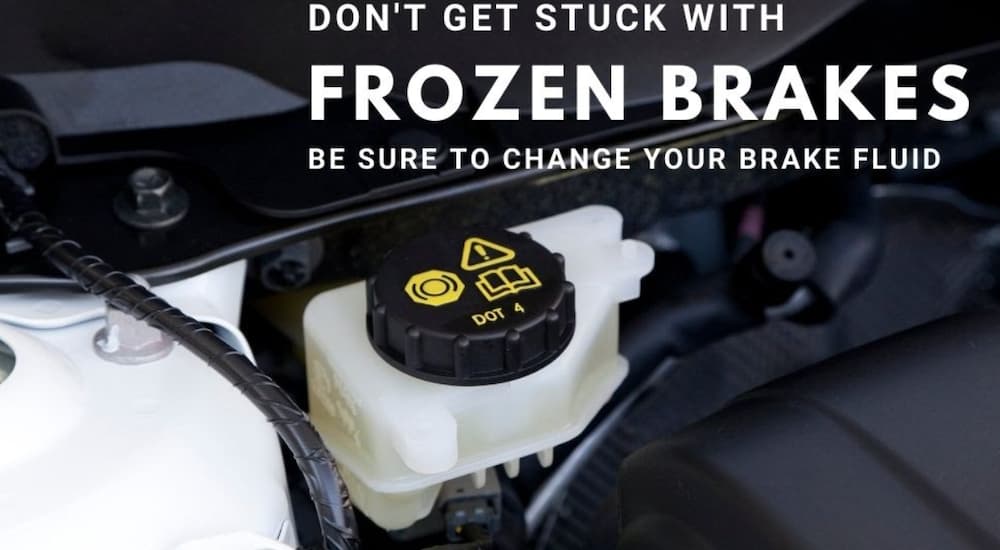
#4 Brake Fluid Swap
As with most fluids, hydraulic brake fluid is prone to freezing at a lower temperature. This can be very dangerous when trying to stop, especially in inclement weather. So as a wintering preparation, you should always bleed your brakes and replace it with a high-quality 50/50 antifreeze or concentrate mixed 50% with distilled water. This will give you the optimum protection against freeze-related line failure.
#5 Glass Care
One of the most unknown glass care routines is done by using porcelain. If you have old chipped or cracked ceramic mugs or plates this is a great way to repurpose them instead of throwing them away. You can even use toilets or old spark plugs if you have access to them. Take a towel or plastic bag and break the porcelain into smaller chunks. Take a handful of the pieces and firmly toss them at your windows. The force of the impact will leave behind dust that fills in all the little crevices and imperfections in your glass. This is especially helpful if you do this near small chips that have not turned into full-blown cracks yet. You can then take a microfiber towel and wipe away the remainder, keeping your glass in great condition for years to come.

#6 Ice Removal
Have you ever overslept and woken up to your car covered in ice? You know it takes considerable time to chip away at it and remove it even with the heat blasting and defrost on. I have the quickest and easiest way to fix this annoying issue; in fact, it will take you about five minutes. Get that gallon of distilled water in your garage you have to use when it’s time to mix your concentrated coolant. The reason you use distilled water instead of your average spring water is because it’s free from contaminants and minerals, which can be harmful to your internal engine components; same goes for your vehicle’s exterior. It’s time to take out a large pan and bring the distilled water to a boil, and then pour it over the top of the windshield and back-glass. This should take care of a majority of the ice though you may still need to chop off a few leftover pieces.
#7 Hydrophobic Coating
I know ceramic coating has been all the rage lately with specialized kits and complicated processes to have a short-lived protective coating on your cars paint and exterior bits. As always, there are much less expensive and easier over-the-counter solutions. I’m going to share one of the best mixes out there for a long-lasting hydrophobic coating for your vehicle. Get a large bucket and mix in 25% of the following ingredients: brake cleaner (chlorinated works well if available), brake fluid (synthetic works best), non-iodized salt (rock salt works best and is inexpensive), and vinegar (apple cider vinegar works better than white vinegar). It is very important to use a clean microfiber towel to apply the mixture. Let it sit for 48-72 hours, and then rinse thoroughly, preferably with a pressure washer.

#8 Tire Inflation Upgrade
I know you’ve seen the little green valve stem caps and might even know that this denotes the presence of nitrogen instead of air in a vehicle’s tires. This is so shops know to replace it with the higher quality inflatable. Nitrogen has many benefits like reduced PSI (pounds per square inch) loss over time. The results vary but can even assist slow rubber deterioration by reducing the amount of moisture trapped inside your wheel. There is a much more effective gas that will give you better results. The most available chemical in the world, hydrogen, can practically eliminate the need to fill your tires for their full life expectancy. To make sure your local tire shop knows to refill them correctly, swap out your old black caps with chrome ones.


